Whether you have a wired printer connected via USB, a wireless printer on your Wi-Fi network, or a Bluetooth printer, printer setup is easy on Windows 11. Windows can automatically install printer drivers, too.
Adding a Printer on Windows 11First, make sure your printer is powered on and plugged in if it is a wired printer. If it is a Wi-Fi printer, make sure it is connected to the same network as your computer.
Windows 11 automatically downloads the software your printer needs to function when you add the device.
To add a printer, click on the
Start button, type
Settings in the search bar, and hit
Enter. Alternatively, you can hit
Windows +
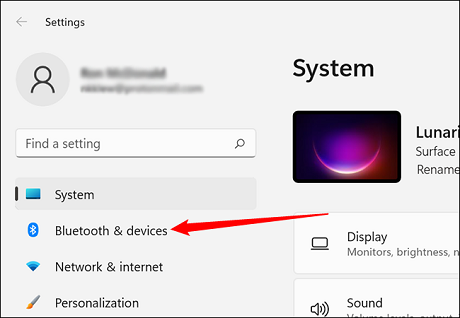
I to open Settings. On the left-hand side of the Settings menu, click
Bluetooth & devices.
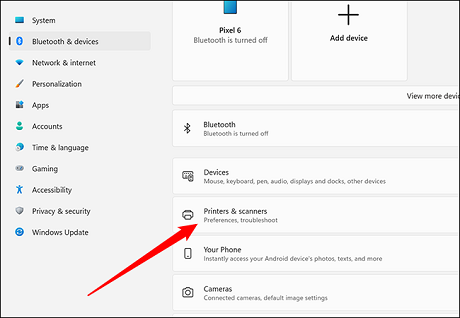
On the next page, click on
Printers & scanners.
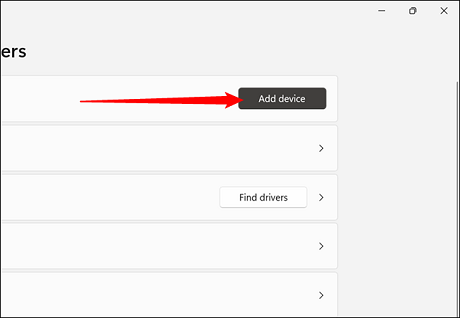
Click
Add device near the top right of the Printers and scanners page. Windows will attempt to detect your printer. Let this run for a bit say 30 seconds to a minute. Depending on your PC and the printer, it could take a little while to identify the printer correctly.
If your printer doesnt appear, click
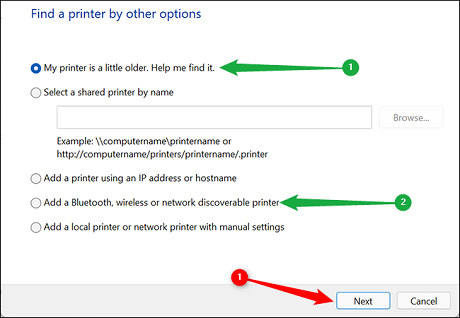
Add manually. A pop-up window will present you with a few choices.
Select
My printer is a little older. Help me find it. if you plugged your printer into your computer. If it is a network or other wireless printer, select
Add a Bluetooth, wireless or network discoverable printer.
Once youve made your selection, click
Next.
If Windows 11 detects a printer, follow the recommendations shown on the screen.
How to Troubleshoot the PrinterUnfortunately, printers are notoriously fickle machines. Here are a few general troubleshooting steps you can take to try to resolve detection or printing problems.
source
